
Photos of Shelter Construction
I plan to release a video going through everything in much greater detail, but this is a rough overview of what we did.
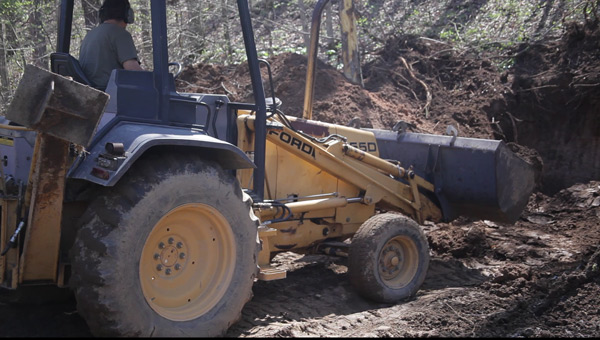
Excavation for the shelter.
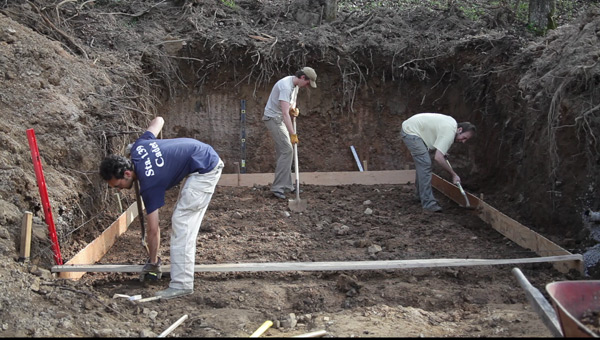
Constructing form-work for the pour. We did a monolithic slab and footer pour.
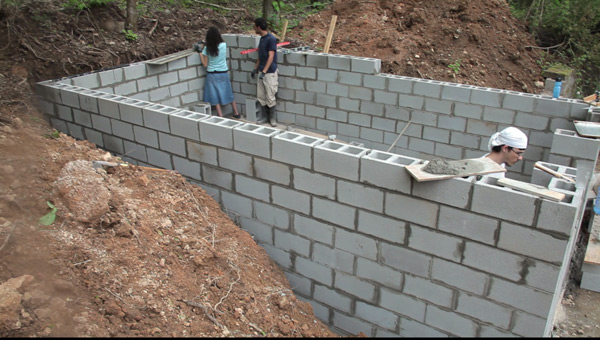
Laying up the walls. Roughly 450 blocks were used.
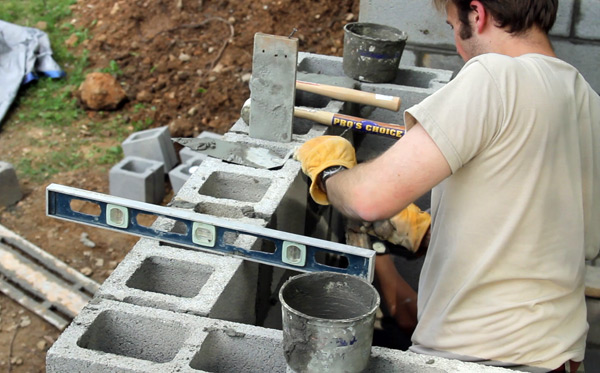
I had never laid ANY blocks before this project and here I am placing the last block. You don't have to be a master mason to build yourself a shelter.
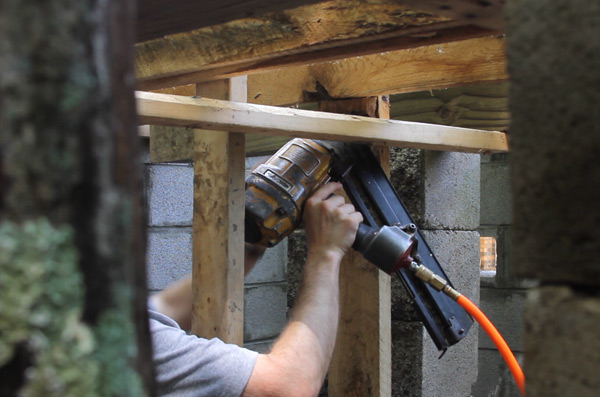
We used a slab roof which required very robust supports for the decking that we would pour on. The final roof weighs about 20,000 pounds.
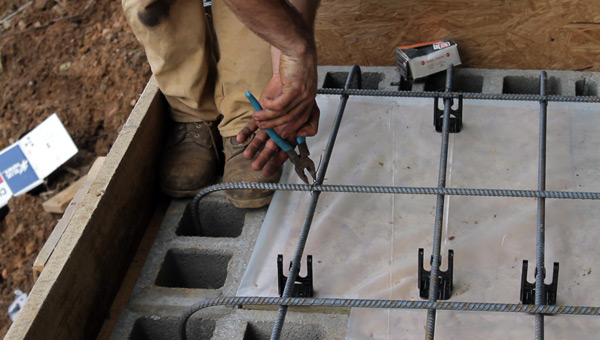
Once the decking was in place we laid plastic sheeting and put our rebar in place for the pour.

The rebar design is critical; it will take the weight of the concrete slab roof and the dirt covering. If you use insufficient rebar the slab can fail.
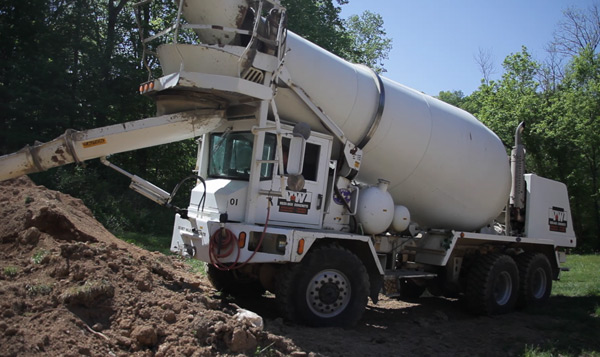
The concrete truck - forget using little bags of concrete. We would have needed hundreds if we went that route.
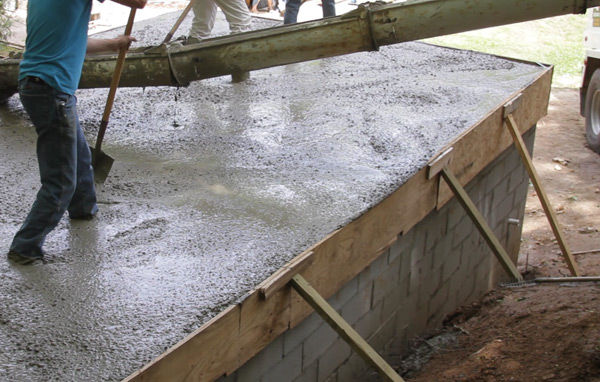
Start your pour near the edges and slowly work your way in, filling it up as you go. You will need to muck a lot of concrete regardless.
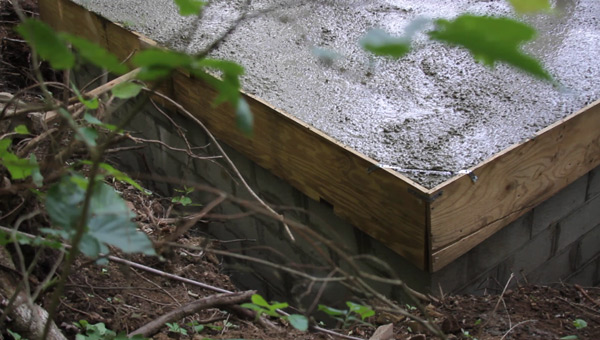
Forms are full and the decking is still in place (whew!).
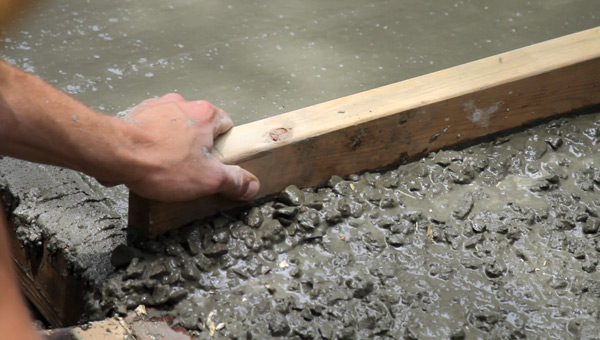
This is called "screeding" - it creates a more uniform surface.
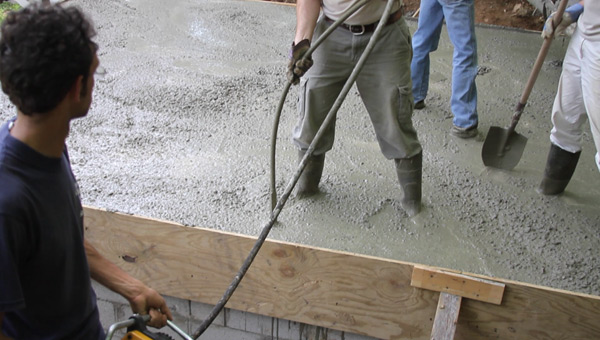
To improve consolidation we used a vibrator; here we are running it down the cores.

And here we are going around vibrating the roof. At this point we are basically done, minus doors, power, and a few weeks for the concrete to cure.
 Photographic Overview of Constructing a storm shelter.
 56 Years of Tornadoes
 Inexpensive Emergency Preparedness